Building AirGradient Lite

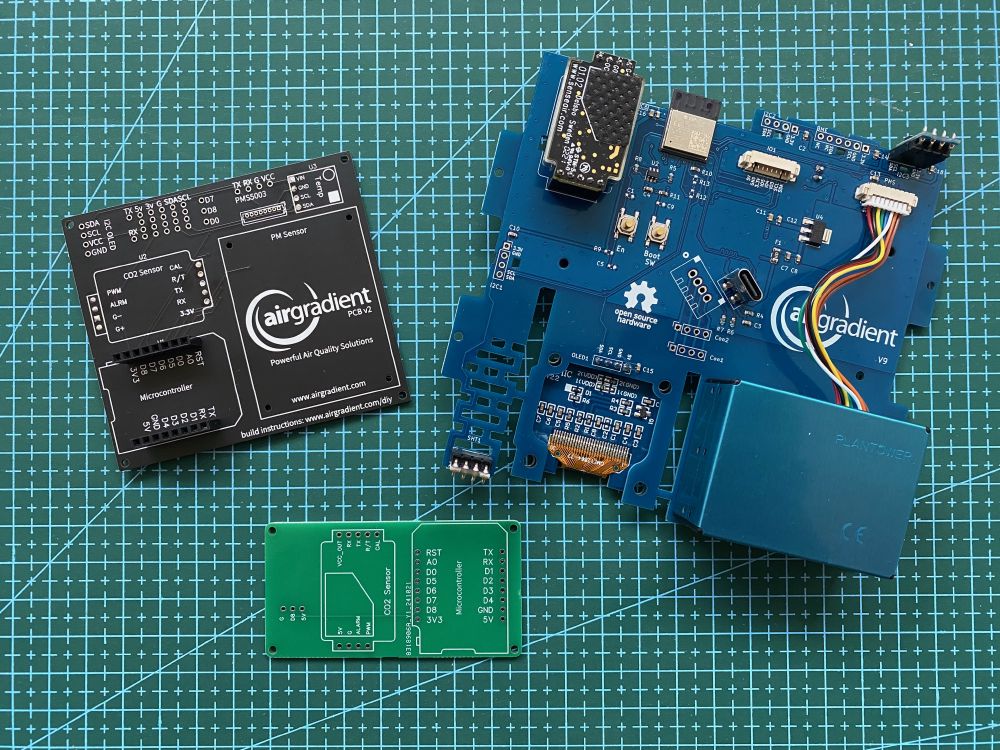
I’ve had AirGradient air quality monitors for a couple years now. My first AirGradient device was built with their DIY PCB v2 and it worked great. I liked it so much that I eventually upgraded to AirGradient One and expanded to 2 devices in my home. I would like to have more but they are quite expensive to build. I also realized that I don’t need all of the sensors in each room and I was only interested in more CO2 measurements so I went to create a stripped down version with only the CO2 sensor.
One of the main reasons I decided to build something insted of just buying a dedicated CO2 sensor was to have more comparable measurements. I’ve been running AirGradient devices for a long time and I trust their measurements. I’ve tested both of my devices against each other in the same place and they provide consistent data. I knew that if I used the same proven hardware the reading would match the other devices and it would be reliable. I also liked the idea of running the same firmware on all of my air quality monitoring devices to keep things easy to manage.
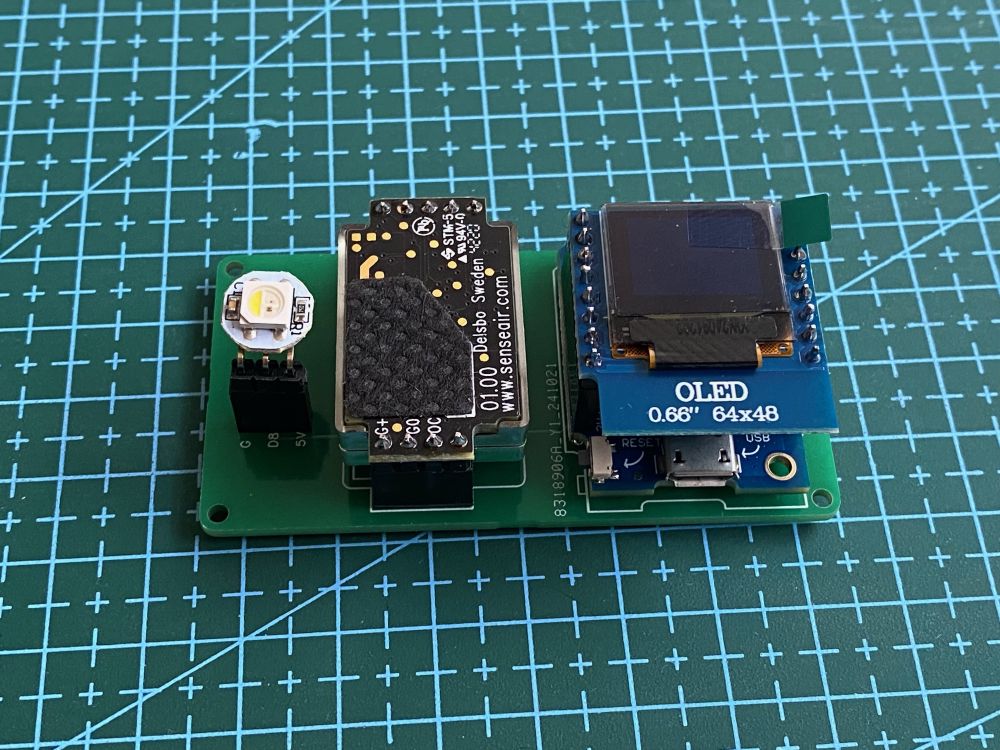
I found the original AirGradient PCB designs here and decided to build on top of it. I only worked with perfboard designs in the past and this was the first time I was working on a PCB. It was a great first project since most of my changes were to remove components I didn’t need and move things around a little. All credit goes to original AirGradient PCB designers. I’ve published my changes here in case you want to build one as well. You will need D1 Mini, small OLED screen, SenseAir S8 and a single RGB LED. The total cost is ~$30 (depending on your region).

I have installed ESPHome based firmware and I’m now working on a small 3D printed enclosure. I will update this post as I make more progress on this project.